Weekly Activities (Project 3: Touch)
Module 3 Formstorming
Weekly Activity Template

Emma Rego Oliveira

Project 3


Module 3

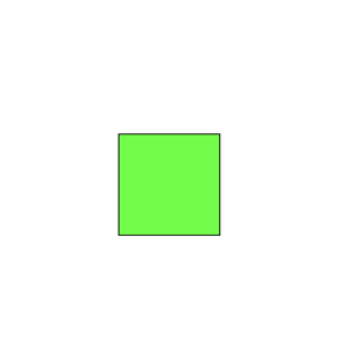
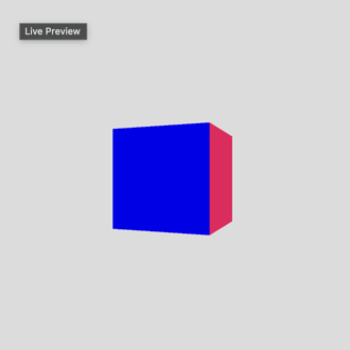
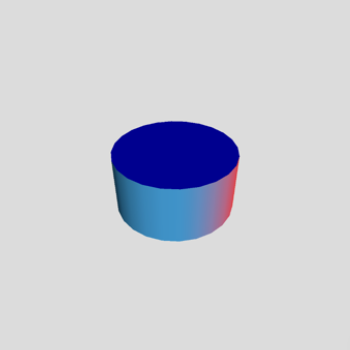
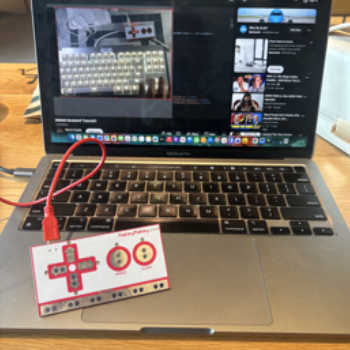
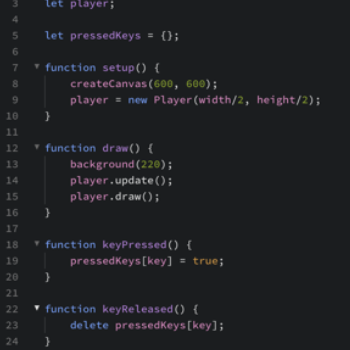
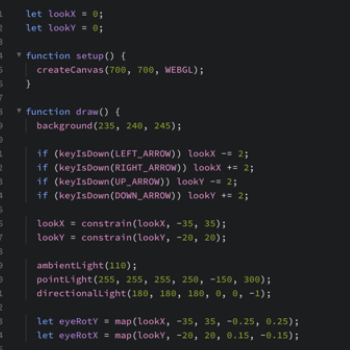
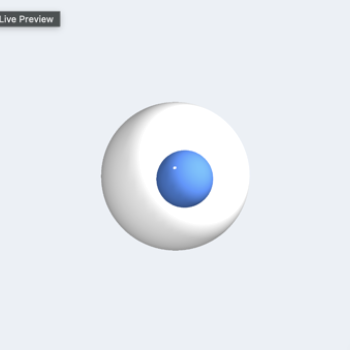
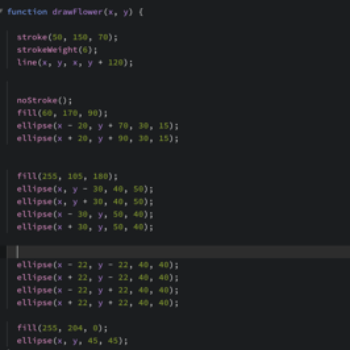
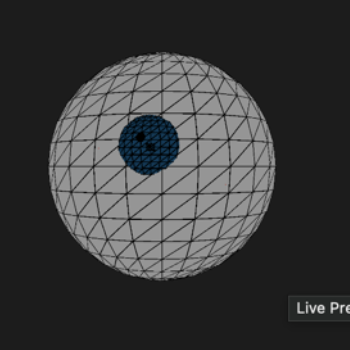
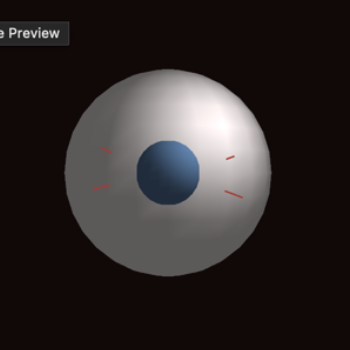
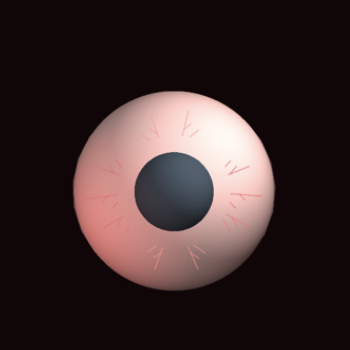
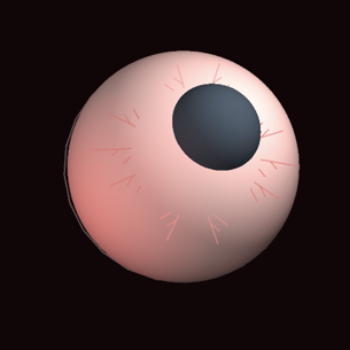
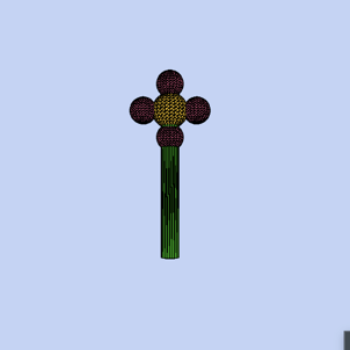
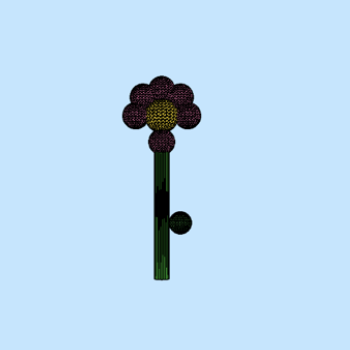
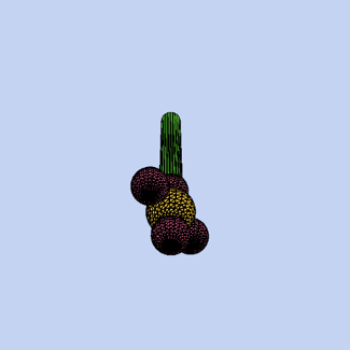
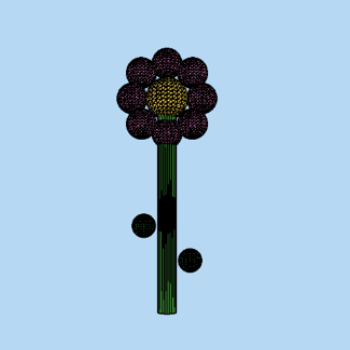
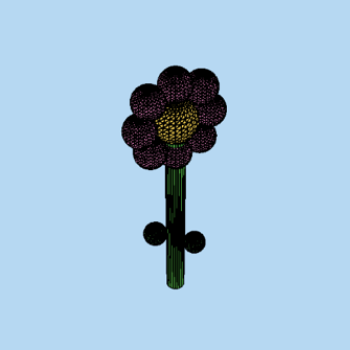
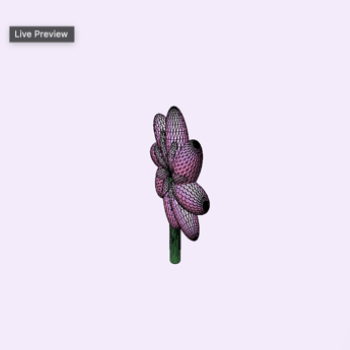
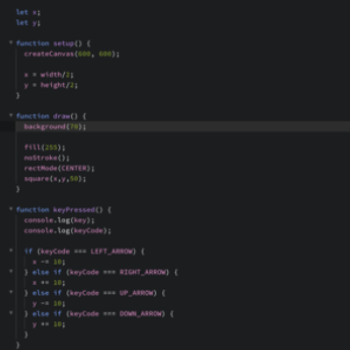
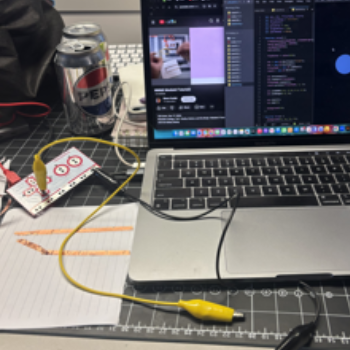
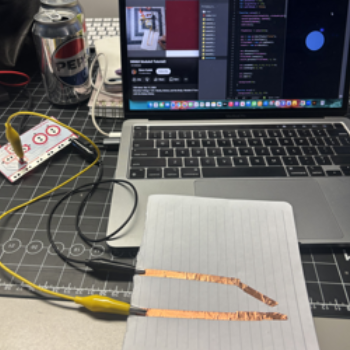
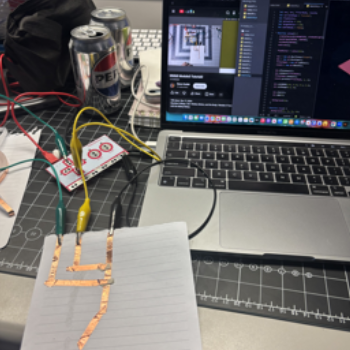
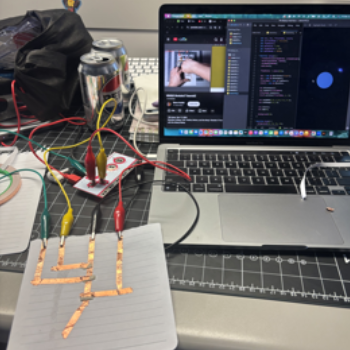
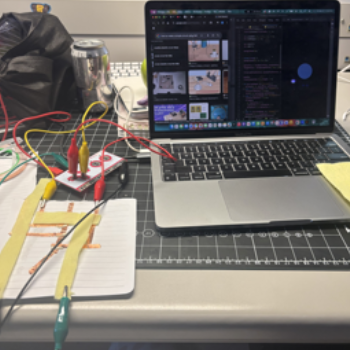
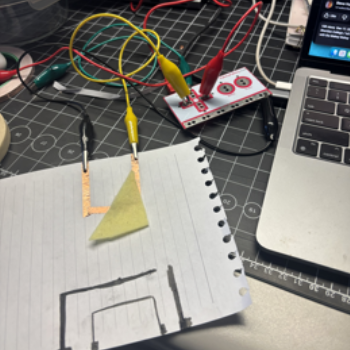
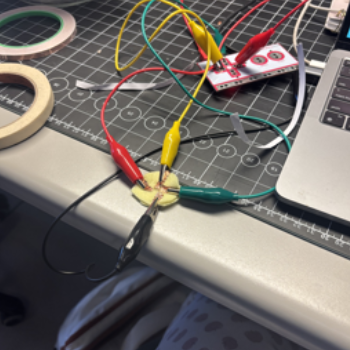
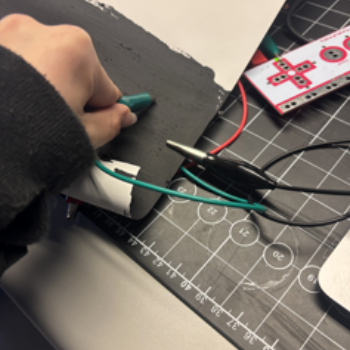
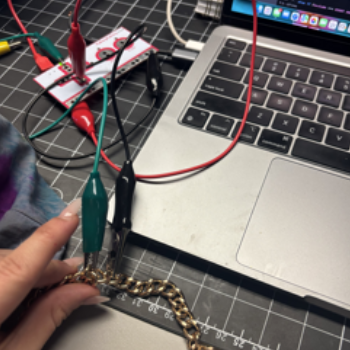
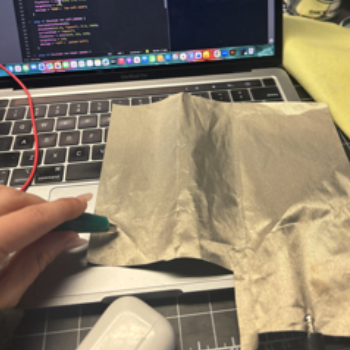
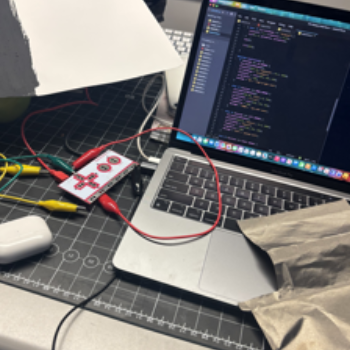
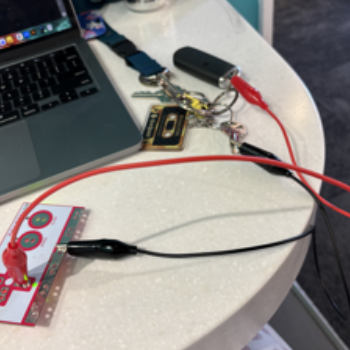
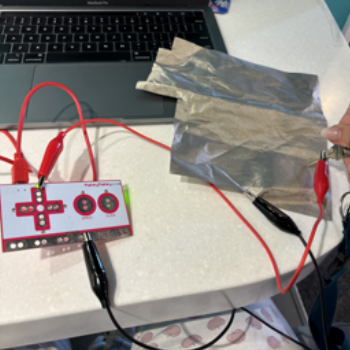
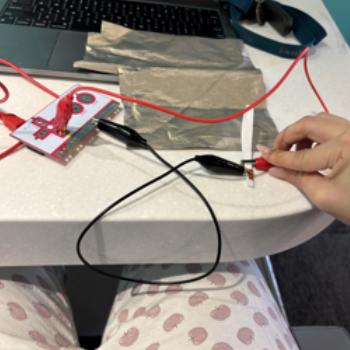
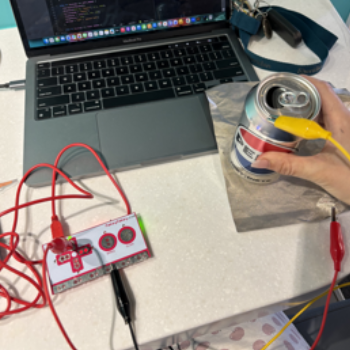
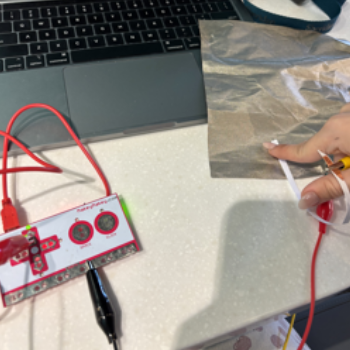
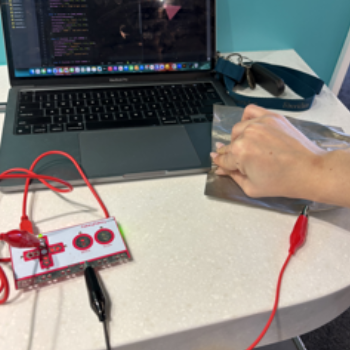
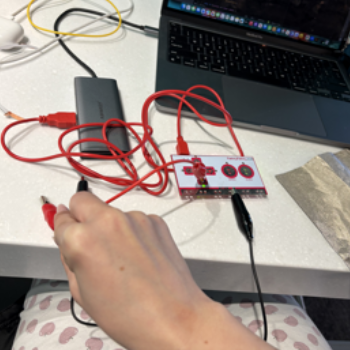
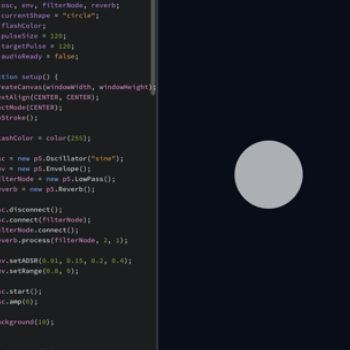
In this activity, I attempted to create interactions between the Makey Makey touchpad and P5.JS code. I started with simple interactive shapes, focusing on the up, down, left and right features on the Makey Makey. Then I moved onto working with 3D shapes. I took advice from the last project and did my best to create interactive 3D creations that work together. I created an eerie eyeball and a 3D flower which reacts to the Makey Makey commands.

Activity 1

Following tutorials to make a sqaure move based on touchpad interactions. Following tutorials to make a sqaure move based on touchpad interactions. Using Steve's tutorials to create 3D objects, starting with a cube with ambient lighting. Using Steve's tutorials to create 3D objects. Creating a cylinder with ambient lighting. I continued following basic tutorials and created more shapes which moved based on up,dowm, left and right touchpad keys. Played with colours and outlines but wanted to create more detailed objects, and I found interest in 3D so I wanted to see what I could do. 2D flower created with ellipses and reacts to keypad input. Makey Makey connected to computer while watching tutorials. Code created with Steve's tutorials to make the moving squares. Code creating the 3D spheres, using WEBGL and directional light. I originally tried making a sphere using the 3D techniques above but the sphere did not look like it was responding to the input so I improvised. Beginning attempts at creating an eye that reacts to up, down, left and right keys on the Makey Makey. This is the code used to create the 2D flower and coordinates to make sure everything is together. More attempts to make the eyeball look sinister, by adding darker, more muted colours. I could not figure out how to make this pupil work, I fear. Attempt at creating veins and adding depth. Adding red lights, this creates a very eerie tone. From another angle. First attempt at making the flower into a 3D model. Was very not successful. I tried adding more petals by creating spheres. From another angle. Copying the first attempt and creating more petals. From another angle. Final version of the flower. Following online tutorials to make 3D objects. 3D flower code with interactive elements. More followed tutorials (basic)

Activity 2

Watching Steve's second tutorial and creating a basic circuit. Connecting the circuit. Connecting multiple more alligator clips to close different circuits and representing different shapes. This is when I connected each arrow to a different part of the circuit. I started playing with the felt and seeing how I could turn it into a circuit. I connected conductive tape to the conductive felt and used my hands to connect the circuit. I then connected multiple alligator clips to the felt. I practiced with graphite pencils but they weren't strong enough. I made a switch for the conductive tape which flicked on and off. I connected some conductive tape to a circle of felt and connected it with my hands. I was inspired by the banana circuit in week 10 so I tried replicating it with an apple, just to play around. I connected the ground wire and the top arrows wire to the diet pepsi I had. I connected the ground wire and the top arrows wire to a pair of scissors, just to see how it would be. Using conductive paint, I stuck the ground wire to the paint and lightly placed the green wire on the paint, making the code flick. I connected the ground and top wire to my purse handle. I then found some conductive cloth and used the ground wire and green wire to create another option. I started trying to connect the conductive paint and cloth to create a circuit. After i left class, I connected the grounding wire to my house key and the red wire to my other key connected by a few chains. I used the grounding wire and connected it to the conductive cloth, then connected the red wire to the key. Placing the key on the cloth completed the circuit. I then used conductive tape connected to a piece of paper with the conductive tape grounded. I connected the grounding wire to the pepsi can (yellow) and the red wire (the top arrow wire) to the conductive cloth. I used the black wire (grounding wire) on the conductive cloth, the red wire on the paper (with conductive tape) and connected the two to complete the circuit. I placed the cloth on the computer which connected the circuit. I put water on the table and put the grounding wire and red wire on it, which completed the circuit. This is the p5js code for the interactive page.

Project 3


Final Project 3 Design

PLACEHOLDER TEXT, replace this with an actual description

test2Lorem ipsum dolor sit amet, consectetur adipiscing elit
×